Hi there!
If you are reading this, you are probably wanting to try something new in your writing instruction.
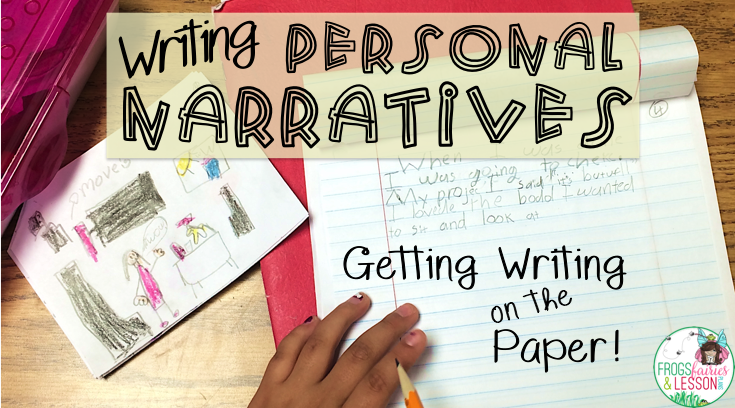
This post is about helping your students get their writing on the paper.

I’ve guided my students successfully through this process many, many times.
This is what impressed me:
- My students were not staring blankly at the paper;
- They were not distracted;
- They wrote many thoughts on each page that were on topic!
Here are the steps that I follow.
➤Keep in mind that I already completed a number of steps prior to this lesson. You can read all about them in the posts I listed above.
➤My writing lessons take a number of days to complete. Adapt to the speed in which your students work.
Drawing Portion
Step 1
- Prep your materials! Remember to make a few extras for modeling purposes.
- Make illustration mini-booklets like these. Cut copy paper into fourths and staple the corners. Your booklets should have the same number of pages as you want your finished books to have, plus one page for the cover.
 |
| Make mini-booklets. Use scissors or a paper cutter if you have one! |
- Make writing books like these. Use a sheet of copy paper for the cover, and a sheet of lined paper for each page of the book.
 |
| Staple copy paper and notebook paper for the books that students write on. |
Step 2
Give out the mini-booklets to your students.
They should:
- Write their names on the cover;
- Number the pages on the top write corner;
- Place the graphic organizer from thelast lessonnext to their mini-booklet.
Step 3
- Gather students on the carpet. Use a document camera to project your graphic organizer and mini-booklet on the board.
➤You are going to show your students how to take each sketch from that organizer and transfer them into their correct page in the booklet. The sketch in the 1st box goes on the 1st page. The sketch in the 2nd box goes on the 2nd page. You get the idea.
 |
| Each sketch goes on a page of this mini-booklet. |
- Show your students how to make a DETAILED illustration using the sketches. Illustrations should have a clear setting, actions, speech bubbles, labels, and anything that you can add to make the story very vivid.
 |
| Drawing a setting, actions, and speech bubbles are an important part of this step. |

Note: Only work on the 2 first pages in front of your students. Have the rest of your booklet already illustrated, so your lesson doesn’t take too long!
- Send your students to their seats, and have them work on their mini-booklets.
Step 4
- When the illustrations are finished, have students sit on the carpet with a partner to share their stories.
- Encourage students to stay on each page and talk about their pictures in detail. The more they talk, the more they’ll write!
Writing Portion
Step 1
- Have your students place their illustrated mini-booklets with next to their writing booklets on their desks.
- Gather students on the carpet.
Step 2
➤You are going to show your students how to use their illustrations to inspire their writing.
- Model looking at the 1st page of your mini-booklet, and writing one sentence on the 1st page of the lined paper booklet. Show how you go back to the illustration to find other things that happened, and write another sentence on your page. Keep going back and forth until you have as many sentences as you expect your students to write.
 |
| Both booklets are numbered, so students stay organized. |
Step 3
- Send students to their seats to write their 1st page. Walk around helping students position their papers and work in an organized space. If a student gets stuck, refer back to the illustrations and prompt students with questions that they can easily answer by looking at their pictures.
- Proceed until the stories are finished!
 |
| Students need help with organization. I walk around and show them, repeatedly, how to clean up this mess… I LOVE how engaged they are! |
Notes:
- As I mentioned before, this is a multi-day process.
- Make sure to allow students to share their writing each day.
 |
| Students have time to share their writing daily. |
- At first, I model writing each page, and as the year goes on, I allow students to write at their own pace.
- DO spend time on the illustrations. That step makes for SOLID writing because students know every detail of their narratives before writing a single word!
If you liked this post and want to see how this process continues, check out my next post on Writing Personal Narratives:
–Writing Personal Narratives: Revising, Editing, and Publishing. (Coming up soon!)
Writing Resources You Might Enjoy
 |
| See Preview here. |
 |
| See Preview here. |
 |
| See preview here. |
THANK YOU! THANK YOU! This is amazing and I struggle with writing so bad. You have made it so easy to follow. I can't wait for your next topic. Thank you
Hi, Lauri! I'm glad this post was helpful to you!
Teaching writing can be complicated at first, but each year you'll get more tools under your belt. Next thing you know, it'll be second nature!
Have a great school year!
Adriana