These activities for practicing tens and ones and place value are super fun and engaging! You’ll notice how their understanding of numbers will increase, and you’ll quickly identify students who still struggle with the concept.
1- The Number Poster Activity
Goal
To increase students’ understanding that numbers can be represented in different ways, including the Base Ten System (with tens and ones), Tally Marks, Units, and Words.
This activity takes about 3 days to complete. You’ll teach your mini-lesson using the same materials your students will use. You’ll model what you want them to do each day.
Materials
- large piece of construction paper (Not black, yellow, or red)
- yellow, black, white, and red construction paper
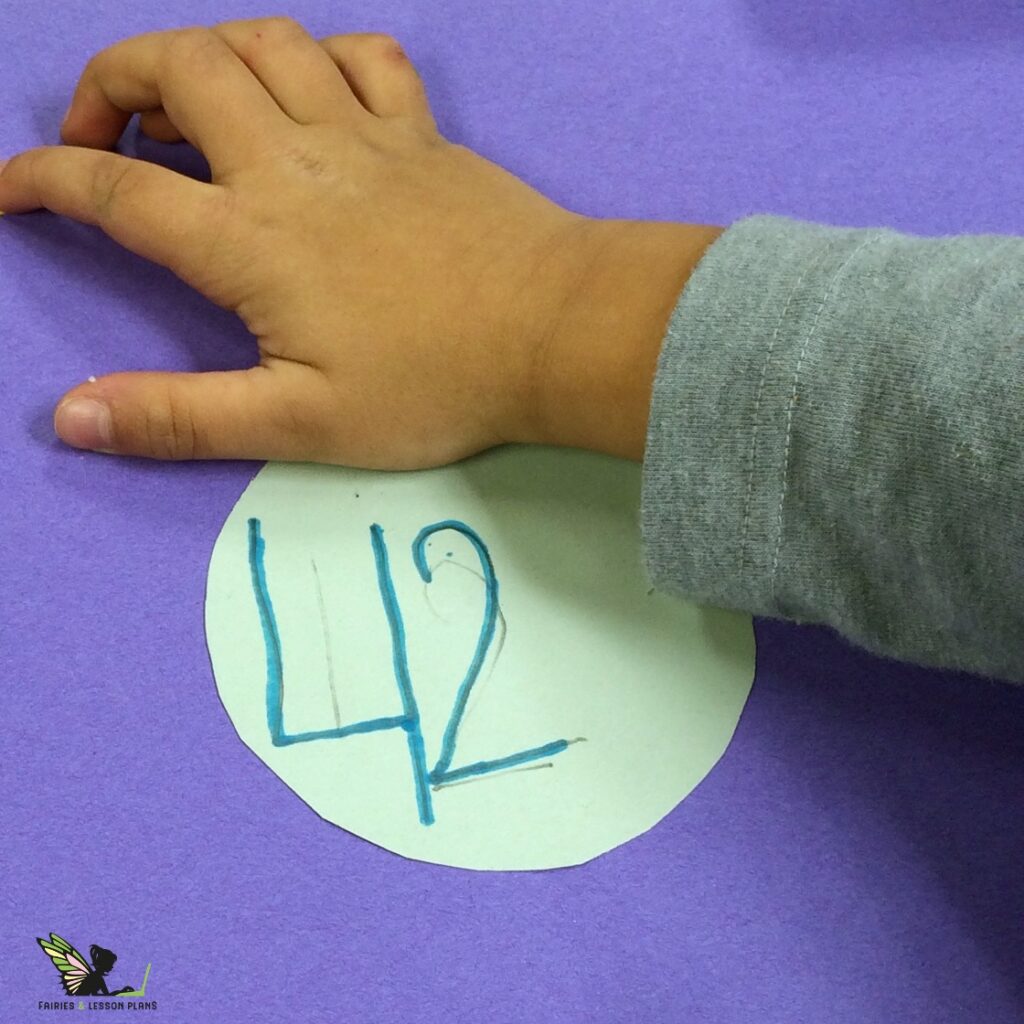
- a construction paper circle (about 5 or 6 inches in diameter – see picture below)
- scissors
- glue
- markers
Procedure
Day 1 – Tens and Ones
- First, give students a large piece of construction paper, and a paper circle.
- Ask them to choose a number from 11 through 50 and write it “really big” in the circle.
- Have them Fold the large construction paper into 4 parts.
- Last, glue the circle in the middle.
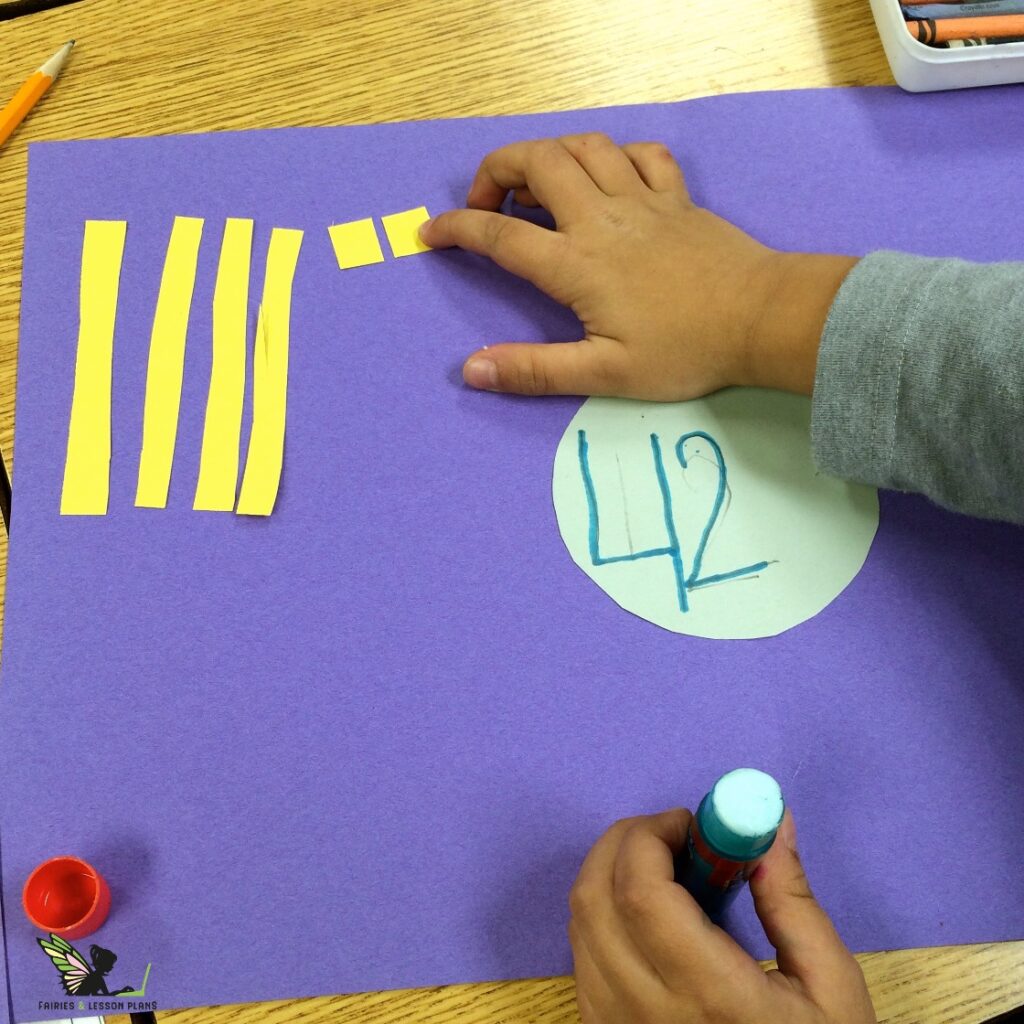
- Give out half-page pieces of yellow construction paper to each student.
- Model how to cut “tens and ones” out of yellow construction paper. Make little “french fry sticks” for the tens, and cut them into little squares to make ones.
- Tell students to make the number in their circle using Base Ten paper blocks.
Day 2 – Tally Marks
- Give out half pieces of black construction paper to each student.
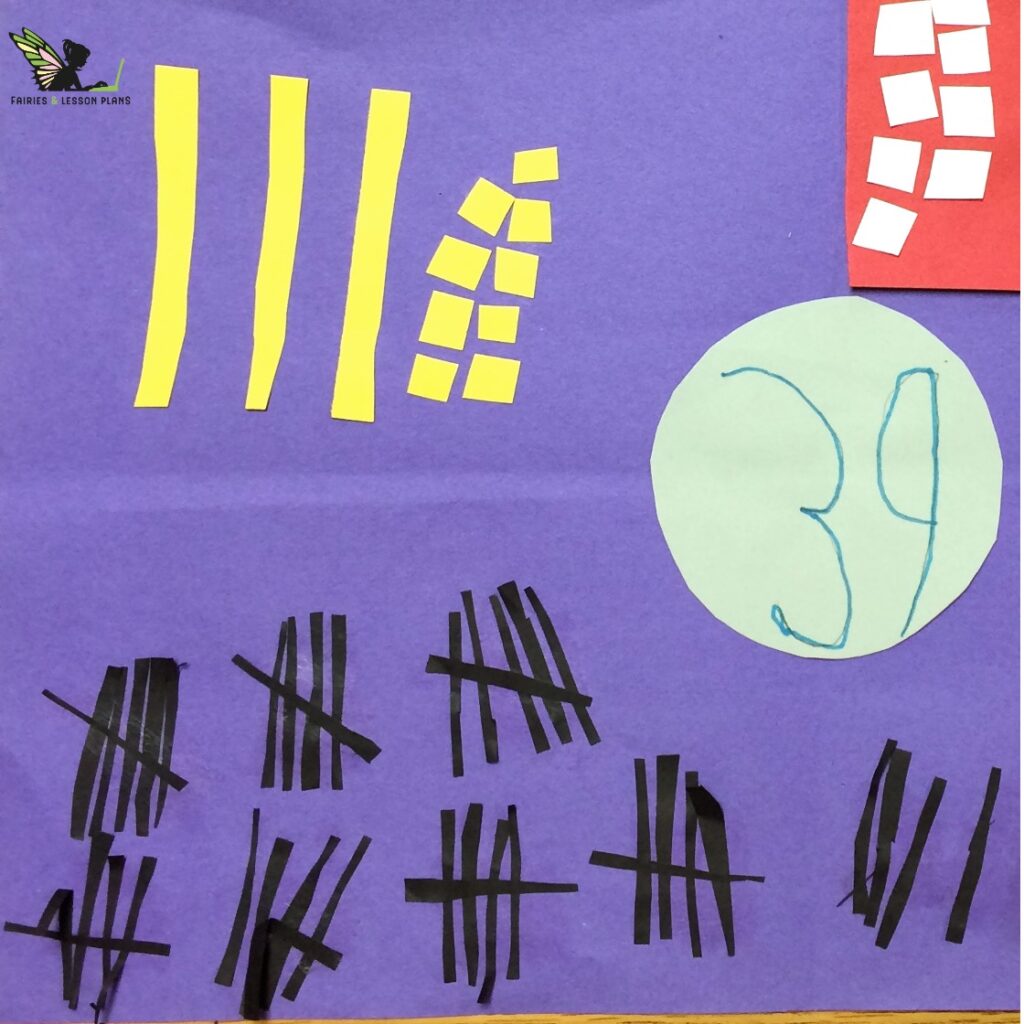
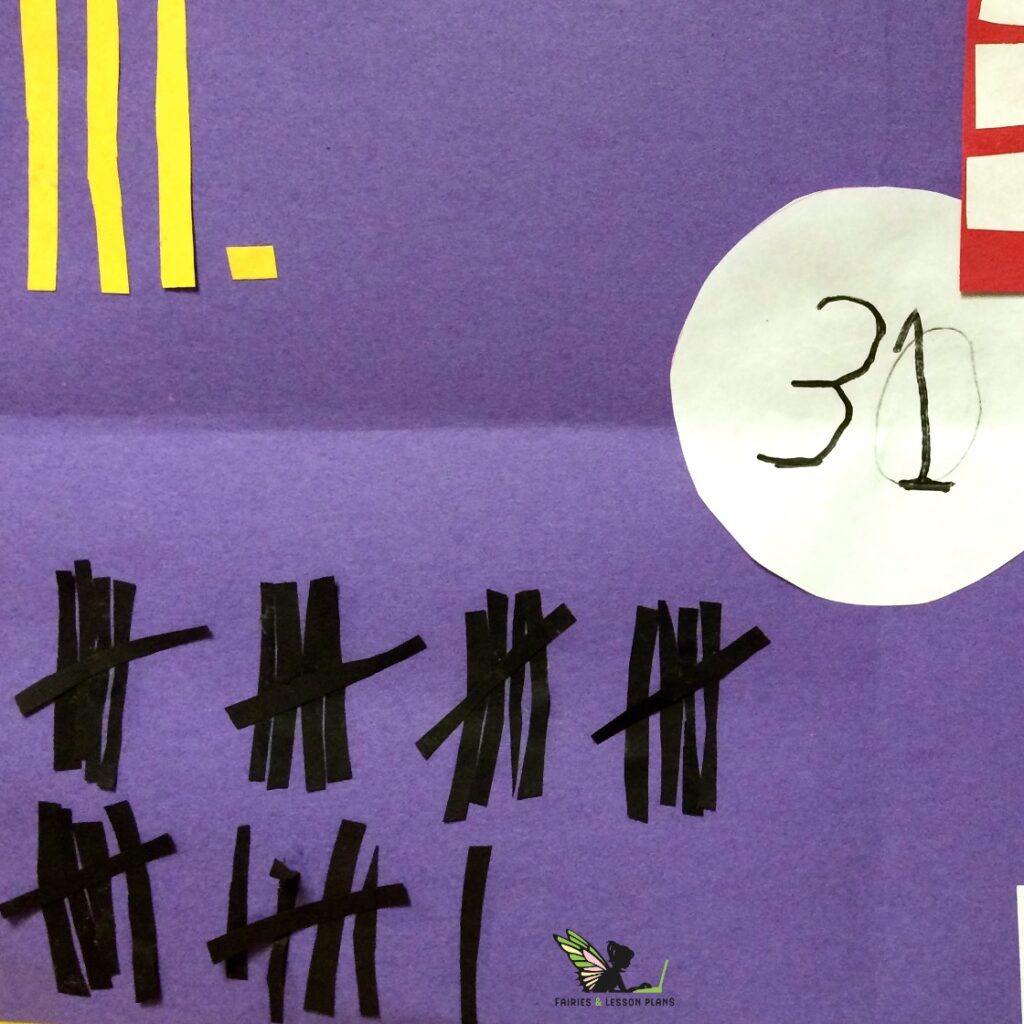
- During your mini-lesson, model how to cut little thin strips of black construction paper to make tally marks.
- Glue them on your example, reminding them to glue the “fifth” tally on a slant!
- Have students do the same on their projects.
Day 3 – Units and Words
Students need help staying organized for this portion of the project. They won’t be able to just start glueing little squares of paper and remember how many more they need. I decided to give them little “mats” to glue ten units at a time, which made this manageable.
- Give out red and white construction paper. The red is for the “mat” and the white is for each unit.
- In your mini-lesson, model how big you want each red rectangle. Fold a sheet of red construction paper until you get rectangles of a good size. Cut those out.
- Then, explain that each red rectangle will hold ten little units, like a “tens block”. Fewer than 10 units go directly on the construction paper.
- Show how to cut the little white squares to make just enough to represent their number. Cut a strip, and cut the strips in squares.
- Remind them that they might have leftover white squares that they’ll glue directly onto the large construction paper. For example, if the number is 41, one little square will go on the large paper.
- Last, give out little labels (little strips of white paper) and have students write the word that represents each number.
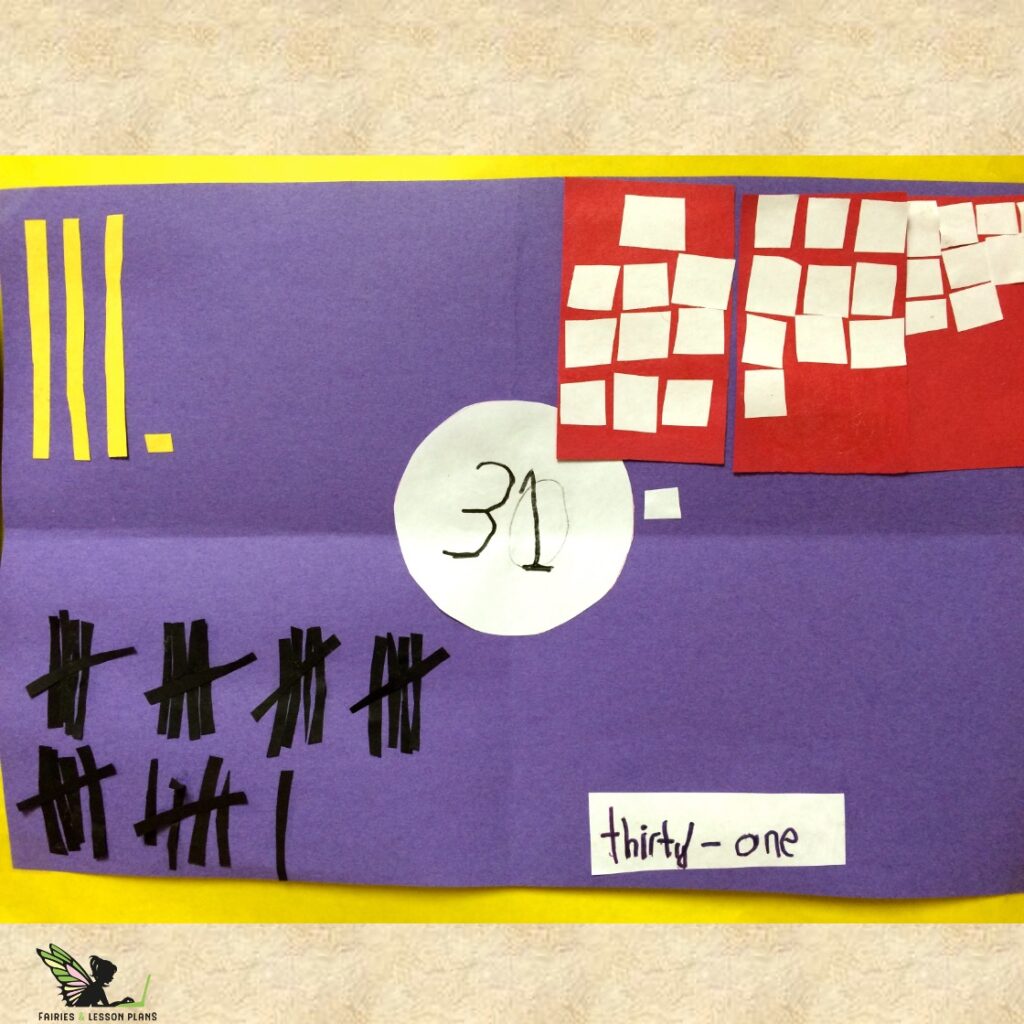
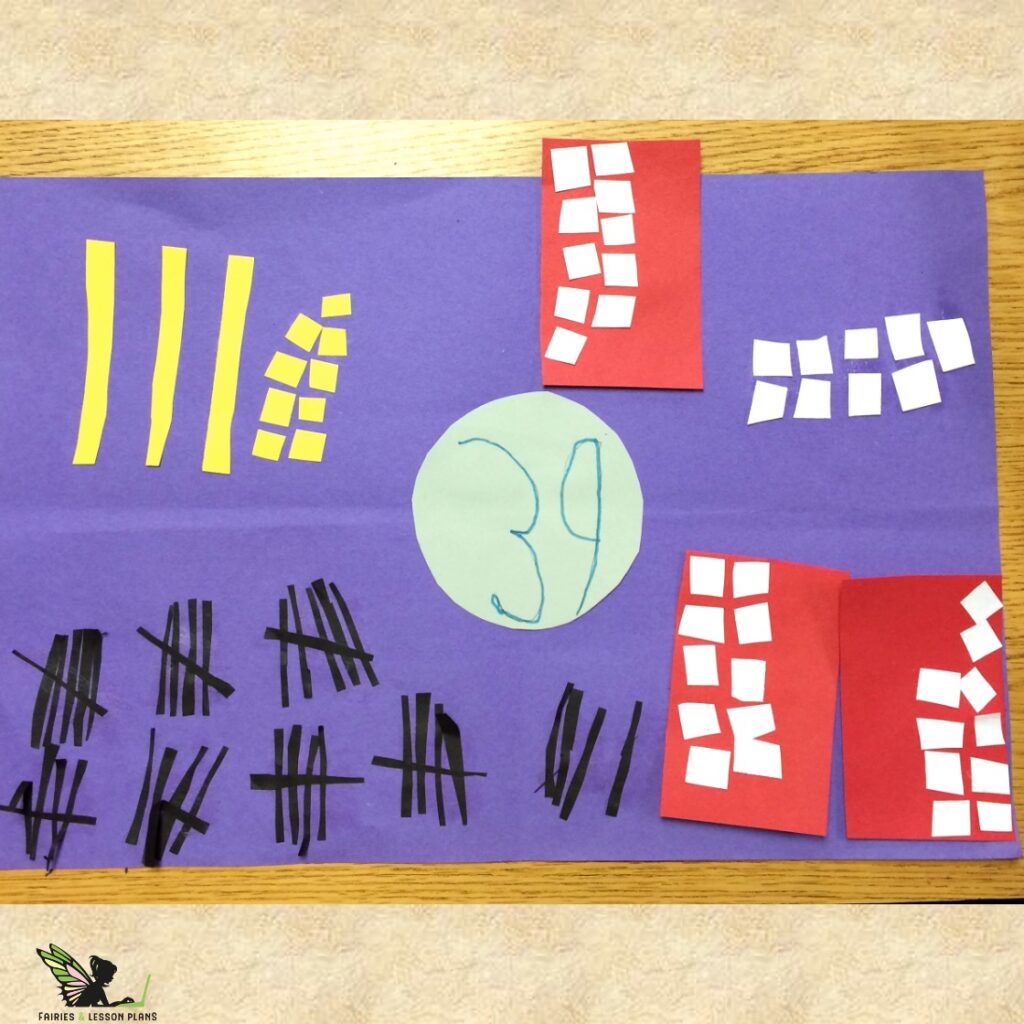
Here’s what my final product looked like.
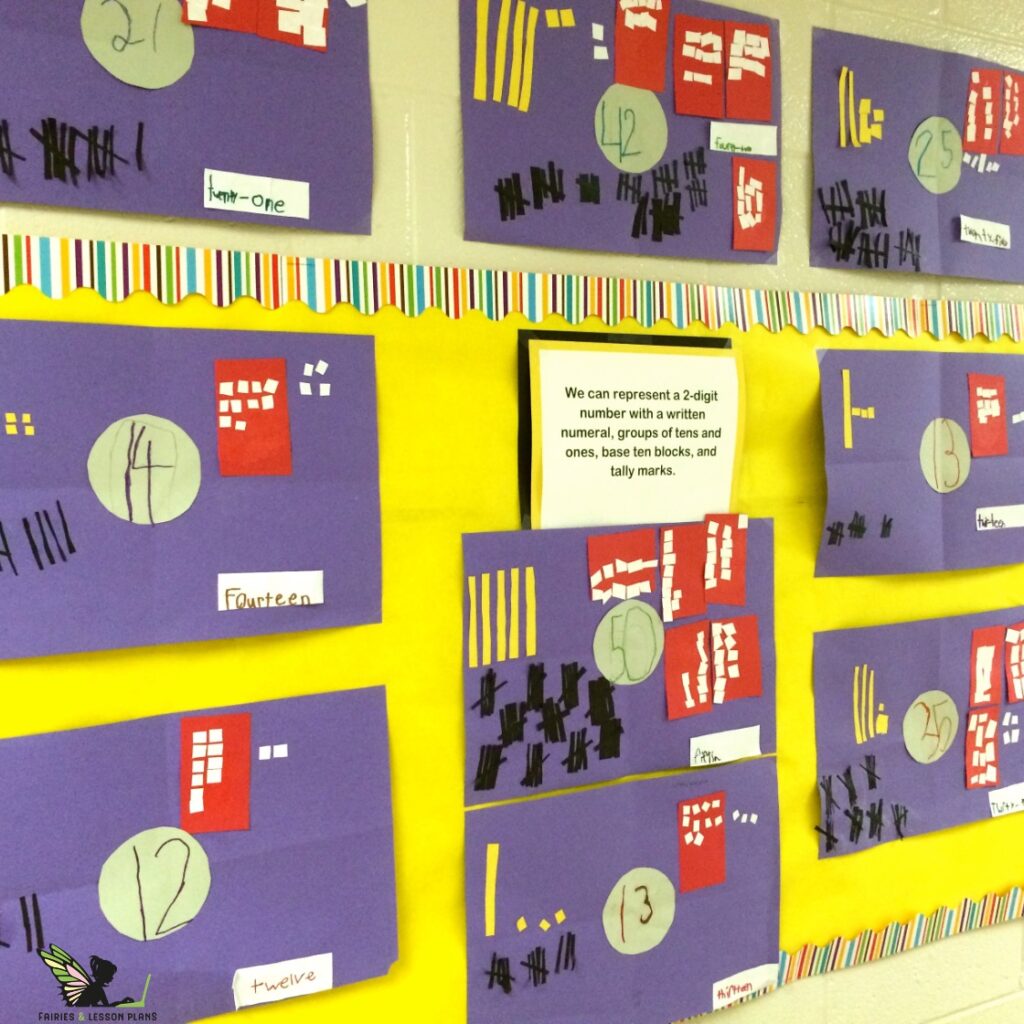
Potential Problems
1. Switching between counting by tens and by fives
Many students couldn’t stop counting by tens after making the base ten blocks. They would point at a tally bundle and say “ten”. Some would count every single tally instead of saying “five”. That was a fabulous way for me to evaluate the depth of knowledge of each of my students.
2. The Base Ten Concept
Many of my students tried to glue all of their little quite squares onto the “red mats”. They did not grasp the fact that when you group units into tens, there might be left overs. That was SO interesting to see, because they represented their numbers perfectly with the base ten blocks…
2 – Base Ten Blocks and Tally Marks Activities
This is one of my students’ favorite things to do. When I bring out the Base Ten flashcards, they can’t wait to go to their Math Centers!
Goal
To give students practice in reading numbers represented in tens and ones, and in tally marks. Also to practice ordering numbers.
Both activities should be modeled in a mini-lesson before being placed in a Math Center.
Materials
- Base Ten Flashcards
- Tally Marks Flashcards
- Pocket Charts
Procedure
1. Ordering Numbers
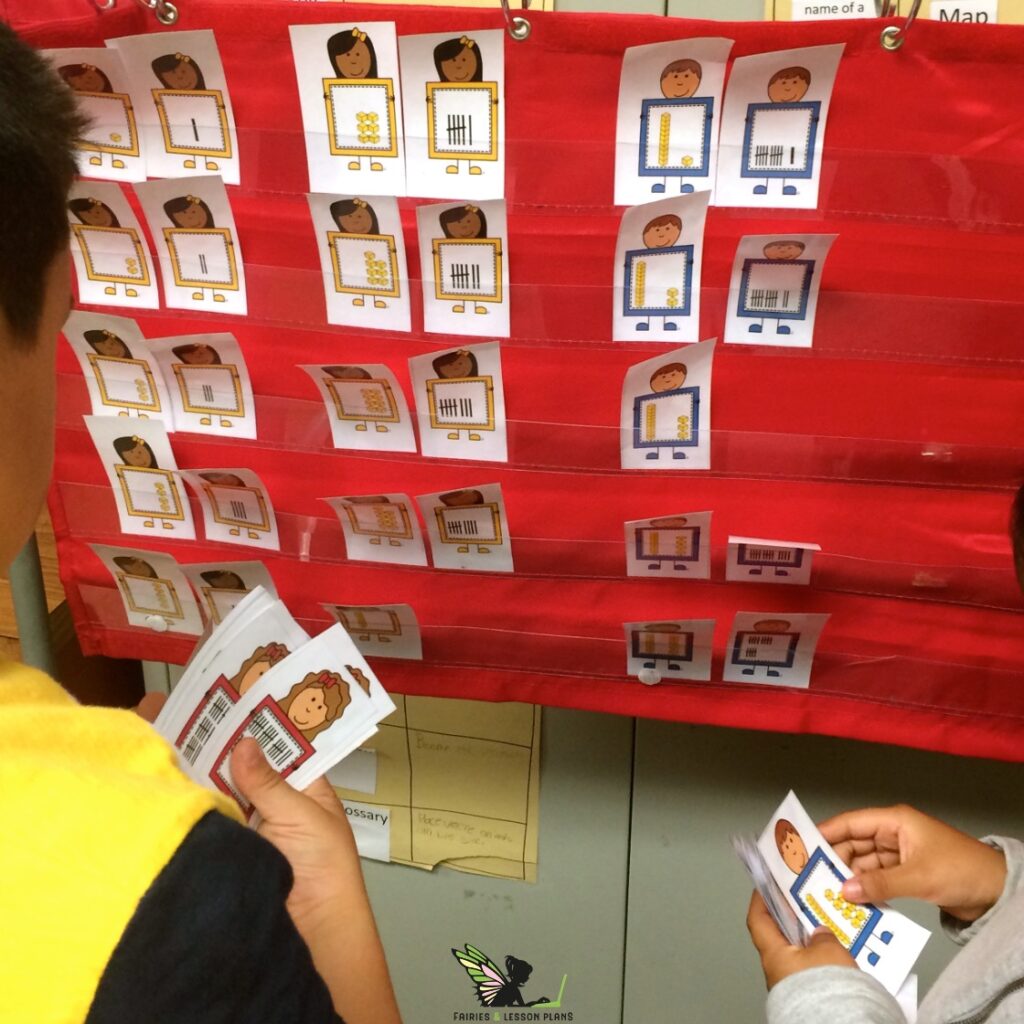
Distribute Base Ten Flashcards. Have students put them in order.
Initially, only give them 10 or 20 cards. Slowly increase the number of cards. Alternatively, assign more or fewer cards depending on the ability level of the students doing the activity.
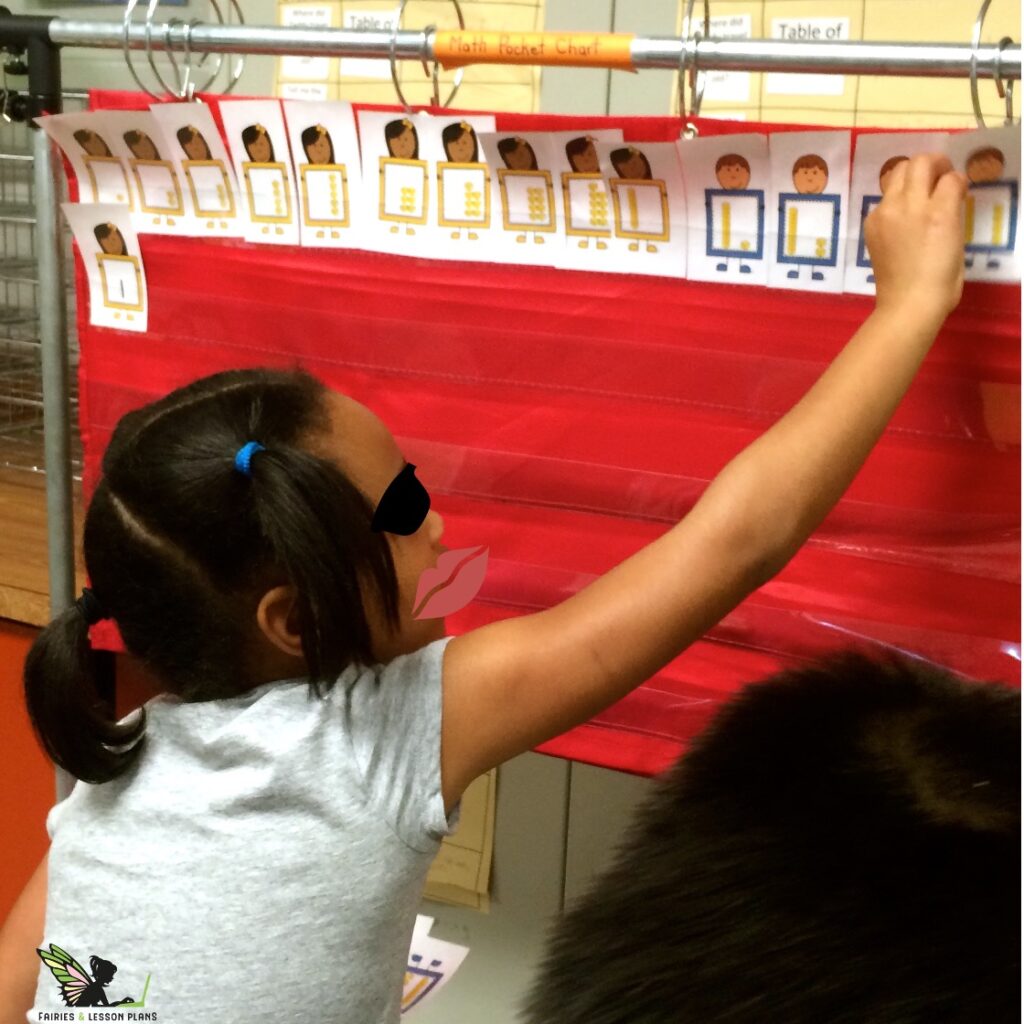
I am usually working with a small group while my other students are working in their centers. I can easily look up and see how quickly and effectively a student is handling this activity. It gives me great information about how well they understand the Base Ten system.
2. Matching Numbers
Another fun thing to do, is to give one student the Base Ten flashcards, and another student the Tally Marks flashcards. As one student places his flashcard on the pocket chart, the other one has to match it!
3 – Practice Worksheets
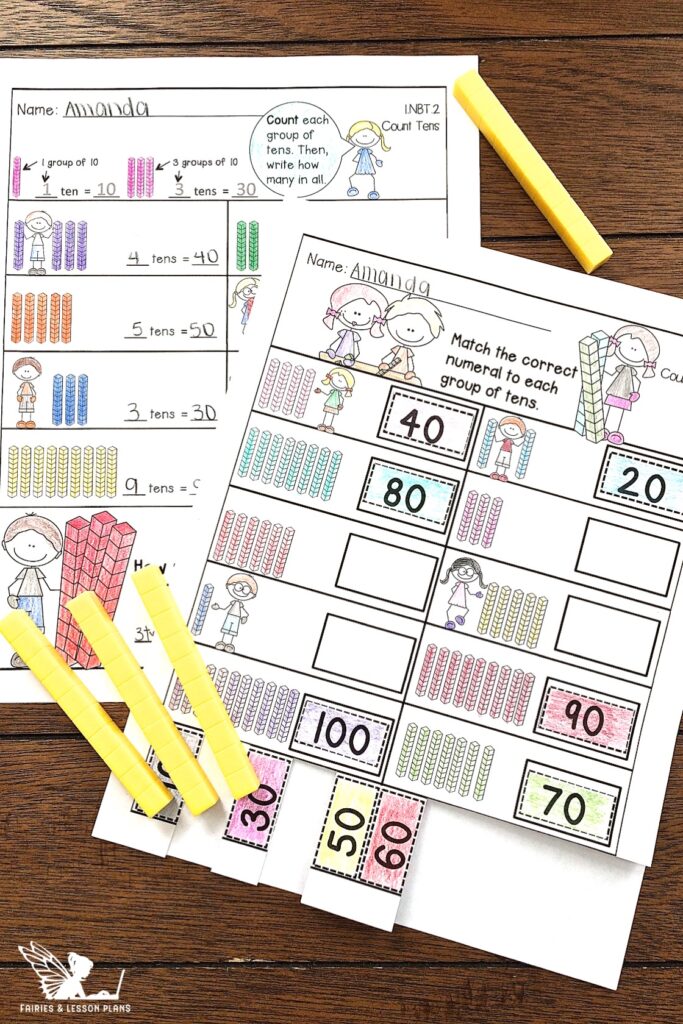
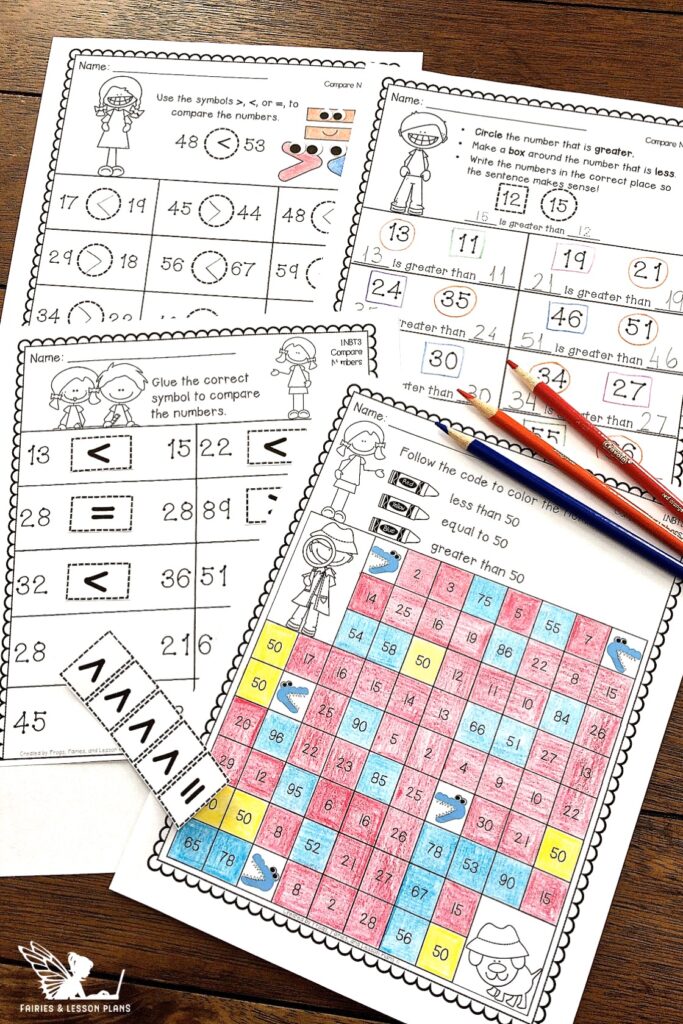
Worksheets are a great way to give students more opportunities to work on their understanding of Place Value.
*Post Resources*
- Base Ten Blocks Flashcards
- 1st Grade Place Value Practice Packet
- 1st Grade FREE SAMPLE of Math Resources
- 2nd Grade Place Value Practice Packet
- 2nd Grade FREE SAMPLE of Math Resources
Assessments are so important for any of the students and I think people should try to prepare their kids for their assessments and try to give the best. Great post!